
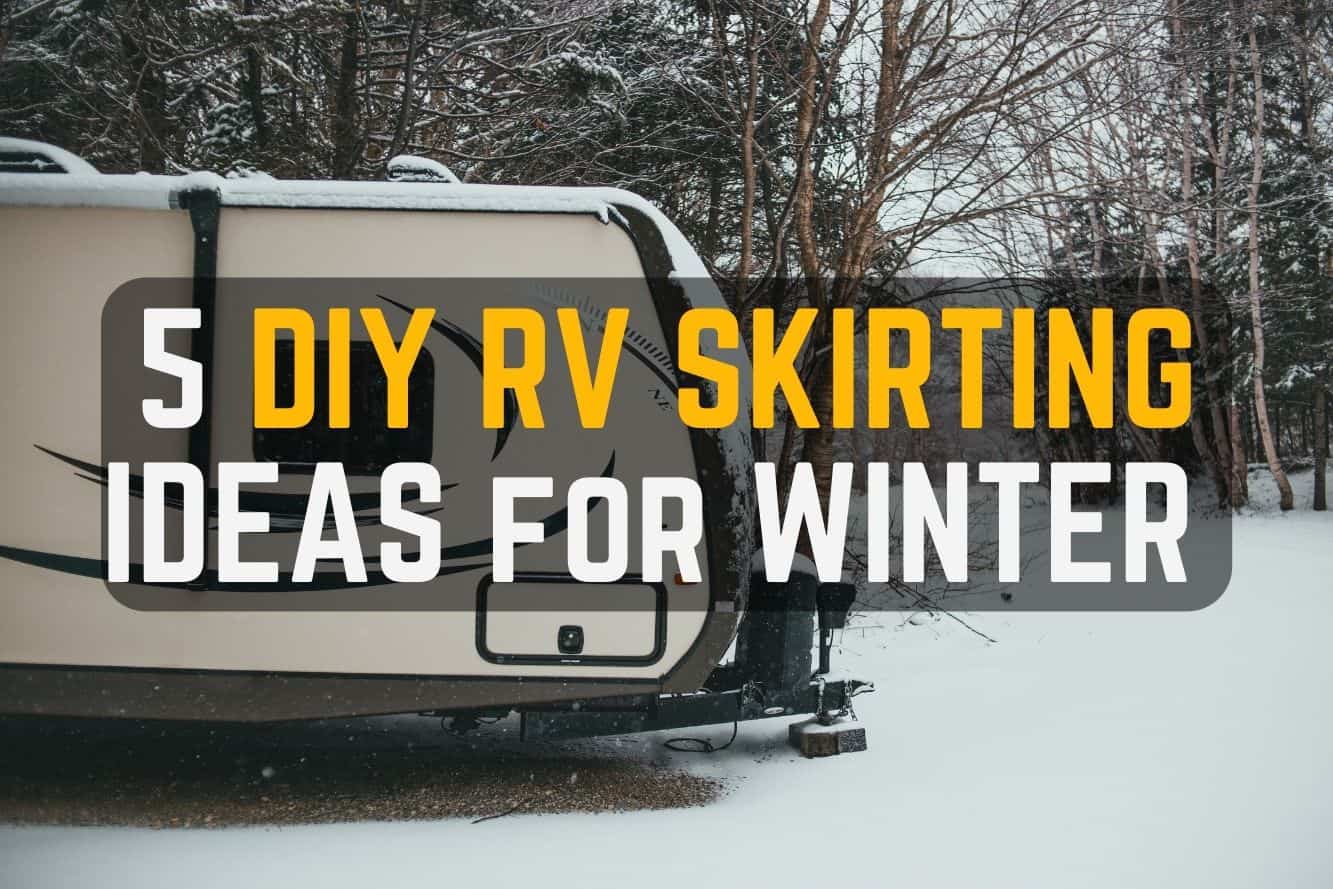
If you live or extensively camp in an RV in the winter in a cold climate, you might need RV skirting. And as you probably know: custom RV skirting solutions are pricey! In this article, we’ve compiled 5 of the best DIY RV skirting ideas for winter for any budget.
If you’re looking for cheap RV skirting, you’ll find it here! The prices of these DIY RV skirting projects range from less than $100 to more than $800.
Each DIY skirting option has a full video tutorial, and we’ve also included supplies lists and step-by-step instructions. Let’s dive in!
This post contains affiliate links. This means that if you decide to make a purchase after clicking a link on our site, we may earn a small commission at no extra cost to you.
Table of Contents
5 DIY RV Skirting Ideas for Winter
- DIY RV Skirting with a Tarp
- RV DIY Vinyl Skirting
- DIY RV Foam Board Skirting
- RV DIY Skirting with Canvas
- DIY RV Plywood Skirting
There are many ways that you can skirt an RV, and there are options and methods for every budget.
Some people want a custom solution, but that’s not always feasible for everyone. Luckily, you don’t have to buy expensive custom RV skirting to protect your RV in the winter.
Just like many things in RV life, you can DIY it! You can choose tarp, vinyl, foam board, canvas, or even plywood or particle board to skirt your RV. Each option is effective–your lifestyle and budget will determine what works best for you.
Honorable Mentions But Not Recommended:
- DIY RV Skirting with Hay or Straw Bales – While some RVers recommend this, we advise against it. Hay and straw is a fire, pest, and mold hazard for your RV.
- Reflectix as DIY RV Skirting – Reflectix is more expensive than other options, and it’s very lightweight. It works for some, but we here at RVHQ think there are better options.
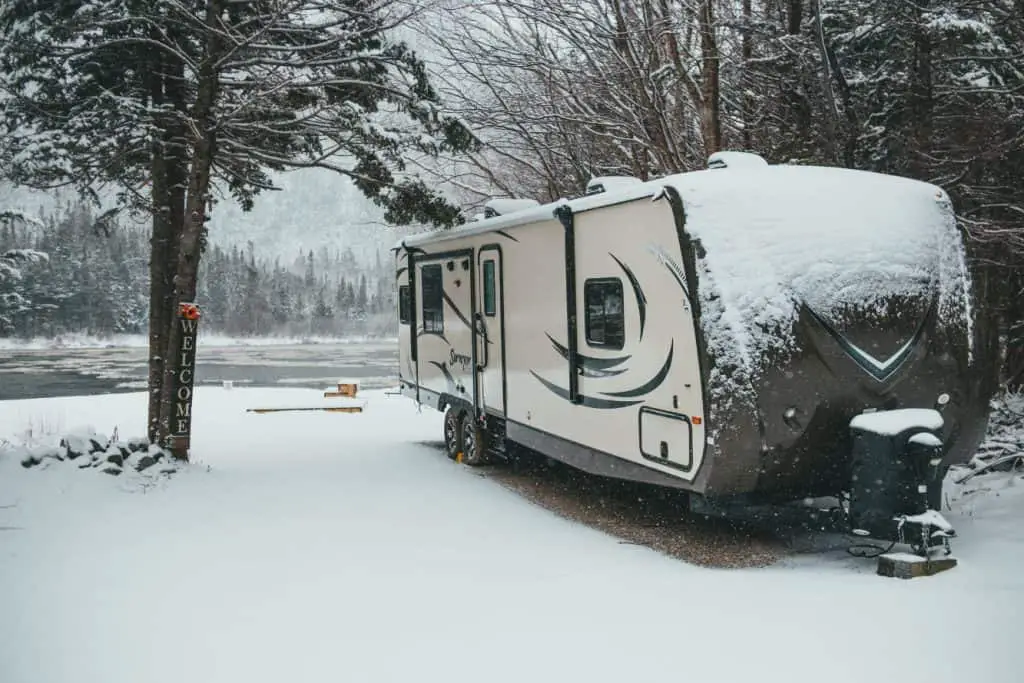
Who Should Skirt Their RV in the Winter?
Not every RVer needs to skirt their RV in the winter. Especially not those who are traveling every couple of days or who are in warmer climates! RV skirting will benefit you if you are:
- A stationary RVer in a climate that regularly dips below freezing.
- A traveling RVer who spends weeks at a time in a climate that dips below freezing.
- An RVer of any kind in an RV that does not have an insulated underbelly.
- Planning to regularly use your RV plumbing in sub-freezing temperatures.
- Looking for a way to better insulate the interior of your RV.
There are RV skirting solutions for every type of RVer. Keep in mind that if you’re a full-time RV traveler who never stays in one place long, this means extra work for you every time you set up and tear down camp.
Unless you have a 4 season RV with an insulated and heated underbelly, it would be wise to skirt your RV in extreme cold temperatures.
Does R-Value Matter for RV Skirting?
R-value doesn’t matter as much for RV skirting because trapping air is the main goal. Sealing up gaps and cracks that allow drafts is more important than the thickness of your material.
R-value is a number assigned to insulation that tells you how quickly heat or cold will pass through. Higher R-value means a higher level of insulation, but this isn’t as important for RV skirting.
RV skirting works by trapping air beneath your RV. This air creates an insulated layer between the underneath of your RV and the cold outside wind. The air underneath is heated by the underbelly of your RV, and the skirting traps it in place. This is how your pipes stay protected and your RV stays warmer with RV skirting.
Considerations for DIY RV Skirting
Everyone RVs differently. Some of us live stationary on a tight budget, others travel every so often and have a bit more budget to work with. Here are the main factors to consider before deciding on which method and material works best for you.
- Budget
- Material weight and rigidity
- Are you stationary or traveling in your RV in the winter?
- Physical ability
Budget
Obviously, budget plays a huge role for most of us. And with the way prices are rising lately, this may be even more important!
The DIY RV skirting ideas in this article range from a cool $75ish all the way upwards of $800. We’ve compiled ideas for every budget.
Material Weight and Rigidity
Material weight and rigidity play a major role depending on your climate and lifestyle. If it’s really blustery and windy during the winter where you are, you’ll want something that can stand up to the weather. You don’t want to have to do a lot of maintenance to put your skirting back in place!
Also, the weight of the material plays a role into how transportable it is if you move a lot. If you choose plywood and you have to move every couple of weeks, it’s going to get old fast.
Stationary or Traveling RVers?
If you’re a stationary RVer, the DIY RV skirting options are really only limited by your physical ability and budget.
If you’re traveling a lot, you may want to consider an option that may cost more up front, but is easier to install, remove, and store–like vinyl.
Physical Ability
DIY RV skirting is no easy task–no matter which method you choose. Plan to spend an entire 2+ days measuring, preparing, and installing your material.
This will involve a lot of bending and standing, squatting, and possibly even lifting.
1. Cheap DIY RV Skirting With Tarp for Under $75
The YouTubers Less of Life skirted their fifth wheel with tarp for less than $75! This process uses tarp, fence posts, and gravel from their campsite to keep their skirt in place and looking great. Here’s how they did it.
Materials Used:
- 4ft Step-In Fence Posts
- Heavy Duty Black Tarp
- Twine to secure it.
- Electrical tape to seal holes and cover twine.
- Gravel from the campsite to weigh down the bottom.
Tools used:
- Measuring tape
- Scissors
How To:
- Place the fence posts about every 10 feet and on corners around the camper.
- Measure from the ground to the bottom of the camper.
- Cut tarp, leaving 4-5 inches for the bottom to be secured with weight like rocks or cement blocks.
- Cut small holes in tarp near fence posts to secure tarp to the posts.
- Cover twine and holes with electrical tape.
- Use gravel from the campsite to weigh down the bottom of the tarp to keep it in place.
2. DIY RV Vinyl Skirting Just Like the Pros Do It – $800
The Camper House YouTubers created DIY vinyl RV skirting that looks just like the custom RV skirting you can buy online!
The only downside here is the cost — this one comes with a higher price tag, but it’s definitely worth it.
They saved over $1,200 by doing it themselves instead of ordering a custom DIY kit.
The end result is an amazing DIY RV skirt that looks custom and professional. They filmed a very informative step-by-step YouTube video of every part of the process so you can follow along.
Materials Used:
- Vinyl
- Snaps
- Press-N-Snap tool
- Vinyl Cement
- Velcro for creating access areas
- PVC Pipe
- PVC Clamps
- RV butyl tape
Tools:
How They Did It:
How To:
- Measure the perimeter of your rig including slide outs. Measure the total length and the height from the ground to the camper.
- Purchase supplies.
- Screw snaps on your RV around your desired skirt height. Place them 8-10 inches apart.
- Place butyl tape on back of snaps before screwing into your RV. This is essential to prevent leaks and water damage.
- Unroll vinyl and prepare to install snaps. The Camper House folded the top of their vinyl over to make it more sturdy.
- Align your vinyl and use the silver sharpie to mark your first snap location. Install the snap on the vinyl, snap to your RV, and keep going along the entire RV.
- Cut your vinyl to fit along the curves as you go. This ensures a totally custom fit.
- If your vinyl isn’t long or wide enough in some areas, use vinyl glue to attach another piece.
- Using 1-inch PVC pipe, fill with sand and cap both ends. This will be the weight that holds down the skirting.
- Use PVC clamps to hold weight in place.
Related: How to Insulate your RV Slide Outs
3. Cheap DIY RV Skirting With Billboard Vinyl for $200
Ashley Mann of RV Inspiration made her own custom vinyl RV skirting. Instead of purchasing brand new vinyl, she used billboard vinyl and was able to complete this project for only around $200!
If you want a vinyl skirt for less than the previous tutorial, be sure to check out this article.
Materials Used:
- Billboard vinyl
- Brass tarp grommets and grommet tool
- Steel tent stakes
- Clear adhesive hooks
- Duct tape
Tools:
- Grommet tool
How To:
- Measure your RV length and height from the ground to the RV.
- Draw on a piece of paper to visualize the pieces you’ll need and the sizes so you have a better idea of total vinyl needed.
- Order your supplies.
- Cut the billboard vinyl.
- Install the adhesive hooks all around your RV a few inches apart to hang the vinyl.
- Using the grommet tool, install grommets all along the vinyl to match up with the hook locations on your rig.
- After hanging the skirting, go along the bottom and install grommets to use tent stakes to secure it to the ground.
Be sure to check out Ashley’s post on RV Inspiration for the full tutorial!
4. Cheap DIY RV Foam Board Skirting for Under $120
This video is another tutorial from Ashley Mann from RV Inspiration, but in this video she shares how she and her husband made DIY foam board fifth wheel skirting for less than $120.
When the RV park they moved to told them they only allowed foam board to be used for skirting, they knew they couldn’t re-use their billboard vinyl. But they ended up liking the foam board so much that they weren’t even disappointed.
Materials Used:
- Foil-backed polystyrene foam board
- Foil HVAC tape
- White duct tape
- Bulk tent stakes
Tools:
- Pocket Knife for cutting foam board.
How To:
- Measure your RV length and height from the ground to determine how much foam board you’ll need.
- Purchase your supplies.
- Measure and mark the foam board to prepare to cut it to size.
- Score along the foam board where you marked it to make it easier to cut. Keep cutting along the line until you cut all the way through or are able to snap it clean.
- Tape the foam board insulation to your RV with foil HVAC tape. Make sure the foil side is facing inward to help retain heat.
- Use white duct tape to hold corners of the foam board together and seal gaps in the foam, but try not to get it on your RV.
- Use tent stakes on the front and back of the foam board to hold it in place.
5. DIY RV Skirting with Canvas
PrjktPAYDAY on YouTube created a DIY RV skirt for their travel trailer using a canvas tarp and snaps.
The installation process here is similar to installing any kind of vinyl DIY RV skirting.
The main idea is to order enough canvas to cover the length of your rig and height of the gap with a few inches left at the bottom for weighing it down. Then, using an adhering method of your choice (they used snaps), adhere the canvas tarp to the travel trailer, fifth wheel, or motorhome as a skirt.
Lastly, weigh it down and be sure all gaps and cracks are closed to prevent drafts.
Materials Used:
- Canvas tarp
- Snaps
- Adhesive hooks
- RVHQ Recommends Butyl Tape
Tools:
- Snap tool
- Drill
How To:
- Measure your RV length and height from the ground to determine how much foam board you’ll need.
- Purchase your supplies.
- Install snaps on your rig several inches apart. They used adhesive hooks for areas of the canvas that already had grommets, which probably saved them some time and effort.
- prjktPAYDAY does not appear to be using a butyl tape or sealant behind the snaps they screw into their travel trailer. We highly recommend this to avoid future water damage to your RV.
- Align canvas with the snaps on your rig and install snaps along the top of your canvas.
- Weight down the bottom of the canvas. These YouTubers used small boulders found around their campsite to hold down their skirt.
Pros, Cons, and Things to Think About
There are pros and cons to each method and as you can see from the videos and articles referenced here, every RVer has a different way of doing things.
How you choose to adhere your skirt to your rig is totally up to you!
Snaps are a great choice and they’re what the professionals use. They can be re-used each season and they don’t draw too much attention to the eye when they’re not in use.
However, if you don’t install snaps properly, they can lead to leaks and water damage in your RV. Always use some type of sealant like butyl tape under your snaps to make them water tight.
Adhesive hooks and strips are an easy, non-invasive solution. However, they can be difficult to remove, are more obvious to the eye, and may leave residue or strip your RV finish.
You can use HVAC tape on your RV without worrying about residue or finish-stripping, but never use duct tape. Duct tape of any kind will leave residue and can strip paint and finish off your RV.
Related:
- How Much Snow can a Camper Roof Hold?
- Dehumidifier vs Damprid: Which is Best for RVs?
- Can You Install a Diesel Heater in a Camper?
DIY RV Skirting Ideas for Winter: Wrapping Up
Whether you choose foam board, vinyl, canvas, or even plywood to skirt your RV, you’re making the right choice!
They’re all effective solutions to help keep the underbelly of your RV insulated in cold winter temps.
These DIY RV skirting ideas can be used for motorhomes, fifth wheels, travel trailers, and even hybrid campers.
Just remember that your main goal is to seal air underneath – that is what makes RV skirting work.

