
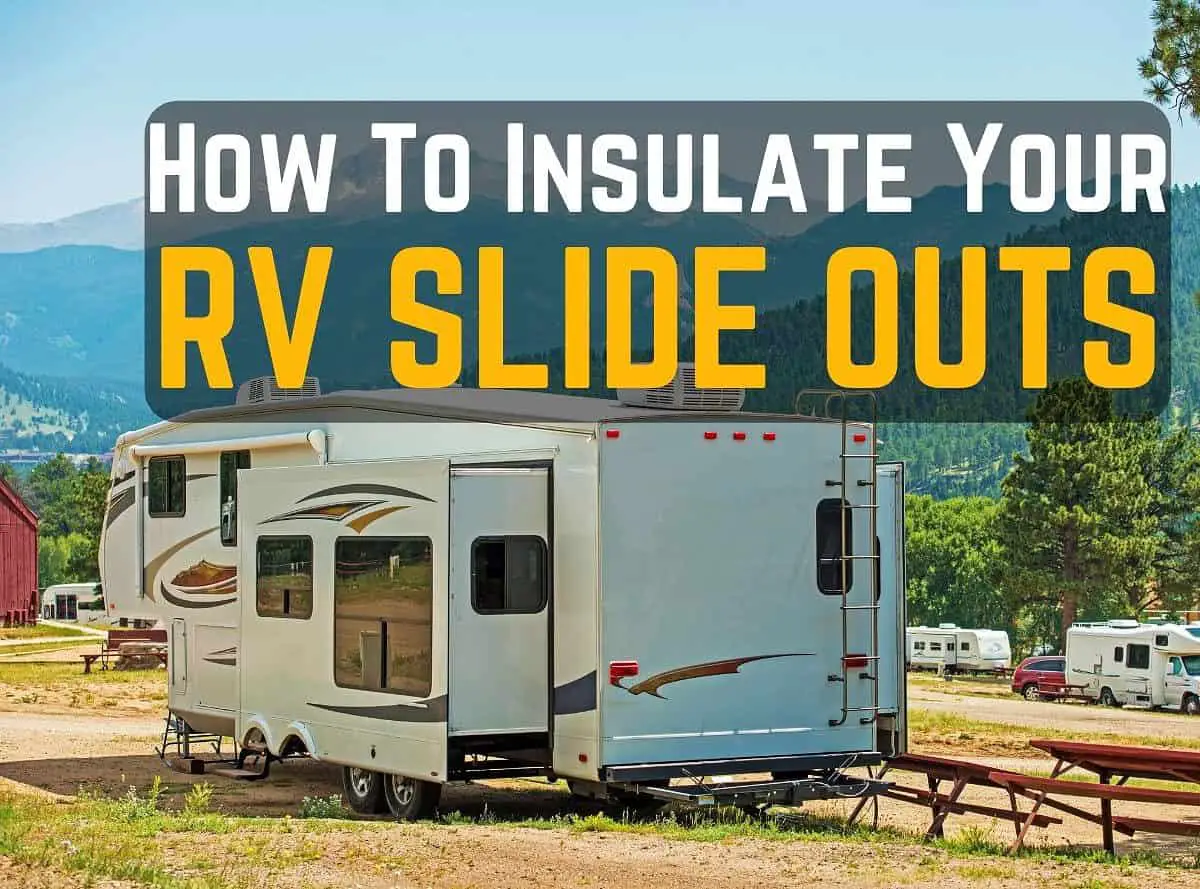
Even four-season RVs can feel drafty and cold in the winter months. And one of the coldest places in the RV is the slide out! RV slide outs are notorious for letting cold and warm air seep in, even if they’re well insulated. If you’re a full-time RVer or are planning on winter camping, learning how to insulate RV slide outs will help you stay warm, cozy, and carefree.
So how do you insulate RV slide outs? There are several options and they’re almost all DIY. Here are your options for insulating your RV slide outs.
- Skirt Your Entire RV Exterior
- Use an Exterior Slide Out Blanket
- Inspect, Clean, and Insulate Seals – Interior and Exterior
- Insulate Slide Out Windows – Interior
- Use Foam Board Insulation on Slide Out Floor and Walls – Interior
This post may contain affiliate links.
Table of Contents
Which Option is the Best to Insulate Your RV Slides?
There isn’t a single one of these options that’s the best and only method you should use to insulate your RV slide outs.
If it’s possible for your situation, you should use as many of these options as possible to achieve maximum insulation for your slides and your entire RV.
However, not everyone can skirt their RV, and not everyone has the physical ability or resources to blanket their slide outs. Do what you can with what you have – anything is better than nothing.
If you live in your RV during the winter, you’ll want to insulate every potential draft area possible: and slide outs are one of the biggest drafty areas in your entire rig.
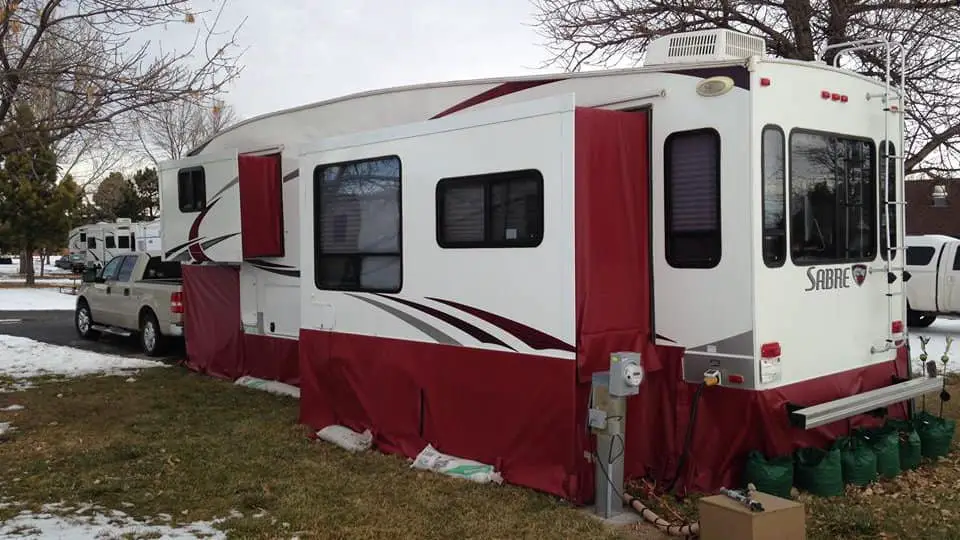
1. Insulating RV Slide Outs: Skirt Your RV
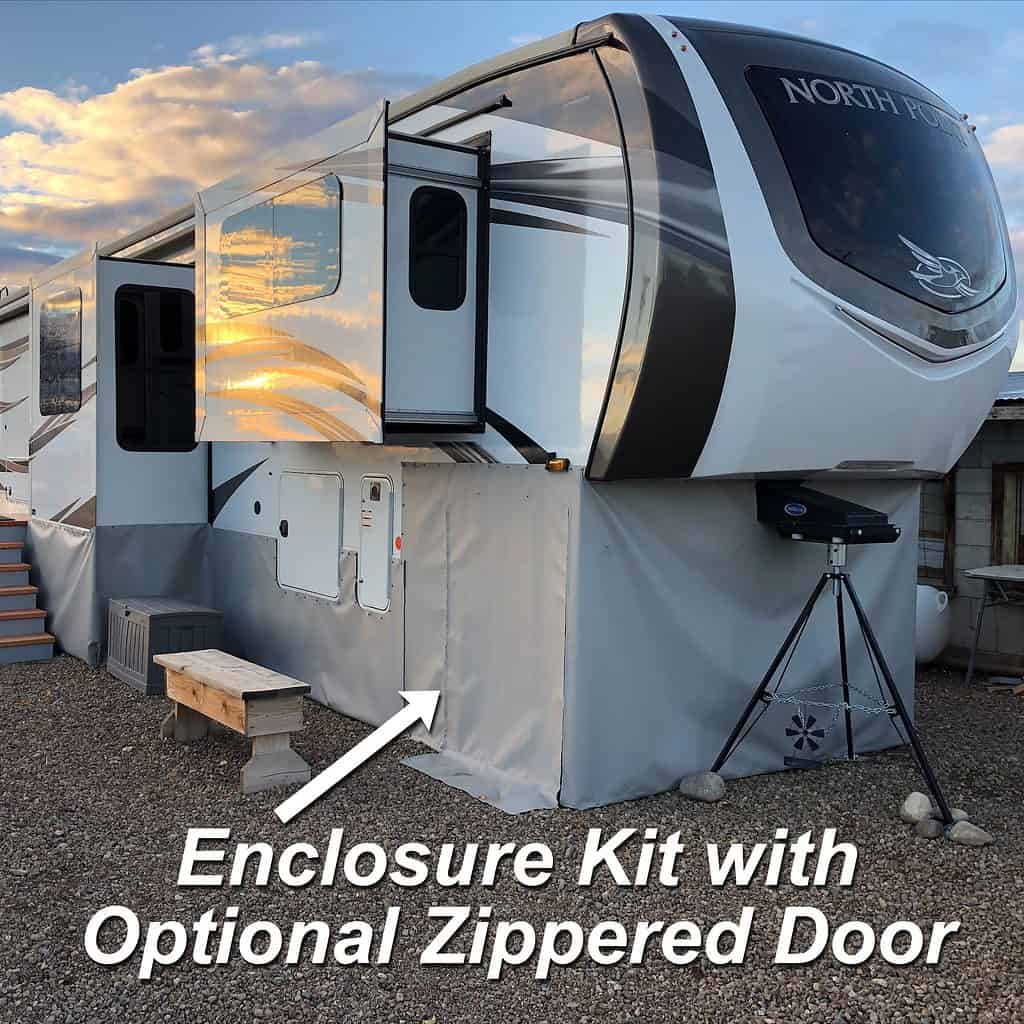
Skirting your RV is a great way to help insulate your entire RV in cold winter temps. Skirting your entire RV also helps insulate your slide outs. However, this is only a viable option if your RV will be in one place for a long time.
If you live in your RV and are stationary for the winter or if you’re taking a very long winter trip, skirting can be a great option for you.
There are many different ways you can skirt an RV. Some RVers use hay bales, but we would strongly recommend against that. Hay bales to insulate your RV attract rodents, like mice. They can also rot and they’re a major fire hazard.
These days, you can DIY an RV skirt out of many kinds of material. Popular choices include vinyl, foam board, canvas, tarps, and even plywood.
You can also order RV skirting that’s custom-made to fit your RV.
EZ Snap Direct makes custom RV skirting that attaches to your RV with snaps – no drilling required.
RVSkirting.com is another great option to purchase custom-fitted RV skirting.
2. Use a Slide Out Blanket to Insulate RV Slide Outs
A slide out blanket is basically just what it sounds like: a blanket made out of insulating materials to wrap the exterior walls of your slide out.
There are two options for slide out blankets: you can buy them or you can DIY them.
To Buy or DIY?
Purchasing custom slide out blankets or making them yourself comes down to three main factors:
- Budget
- Physical Ability
- Time Frame
However, even if you purchase slide out blankets, you’ll still have to install them yourself.
You can purchase custom slide out blankets called “Therma-Slide” from CustomSkirting.com.
These run around $250-$300 and the manufacturer recommends to use foam board insulation under them – but the foam board isn’t included.
Our Opinion: Therma-Slide blankets are a great option if you want a more “polished” look to your slide out blankets. If you don’t mind the material showing, you’d be fine without them.
How to make and install a DIY slide out blanket:
There are a few options for materials you can use to create a slide out blanket. Most people use some type of flexible insulating material, like reflective bubble wrap.
However, you can also use rigid foam board cut-to-size to insulate your exterior RV walls.
Materials You’ll Need:
- Insulating material: reflective bubble wrap or foam board
- Measuring Tape
- Strong tape – you can use HVAC tape and gorilla tape together
- Tools for cutting material
- Ladder
4 Steps to Make and Install a DIY Slide Out Blanket:
1. Measure Slide Out Walls
Measure the exterior sides of your slide out. Your slide out blanket will wrap around the sides, but not the entire thing. Be sure to measure the length and width of each slide out wall, bottom, and ceiling.
2. Cut Your Material
Once you have the measurements, you can start cutting your material. If your material (reflective bubble wrap or foam board) doesn’t come in the right width or height, you can tape pieces together to make it big enough.
Leave a few inches of space on the ends so that you have a seamless attachment point for the other sides. If using foam board, your measurements will need to be more exact. However, if you use a flexible material, you can always bend it to fit.
Make sure your material fits snugly on your side out walls so that it can’t be removed by strong gusts of wind.
3. Install Slide Out Blanket – Roof First
Your slide out blanket won’t attach directly to the RV. It will attach by taping the ends to the ends of the other side. So, attaching the ceiling first is the best bet – you can rely on gravity to hold it down and tape the side wall insulation to the slide out roof insulation.
Use a very strong tape to attach the insulation – duct tape or gorilla tape works well.
Try not to tape any material directly to your RV exterior to avoid damaging the finish or leaving residue.
After you’ve taped the side wall insulation material to the roof material, you can install the bottom.
4. Tape Up Gaps with HVAC Tape
Seal all the edges of the insulation at each corner with HVAC tape to avoid drafts from entering.
For visual learners, check out this video to see an example of a slide out blanket.
3. Inspect, Clean, and Insulate Slide Out Seals
Your RV slide outs can be drafty, even in the most well-made RV. One way to stop your slide outs from letting in cold air is to inspect, clean, and insulate your slide out seals. You should do this on both the interior and exterior.
How to Inspect and Clean Your Slide Out Seals
Before you clean your seals, you should inspect them. Sometimes small debris like leaves or twigs can become lodged in your slide out seal, or gasket, and cause a draft or worse: slide out damage.
There are two seals on your RV slide outs: interior seals and exterior seals.
You can check and clean both sets of seals from outside the RV, starting on the roof.
Be sure all debris is removed from the top of your RV slide out. Using gloves, slide your hand under the RV seals and feel for debris.
As you do this, make sure that both your interior seals and exterior seals are in the correct position – sometimes they get rolled under and this can create drafts.
For visual learners, check out this video.
How to Insulate Your Slide Out Seals
After you inspect and clean your seals from the outside, head inside the RV and run your hand along the entire slide out opening. If you still feel a draft, you can insulate with insulation material like cotton insulation from a hardware store.
For visual learners, author MikeandLibby posted photos of how they insulated their slide out lip on the Grand Design Forum here.
4. Insulate Your RV Slide Out Windows
Nobody likes covering their windows in the winter time… but for insulation purposes, this is something you should consider.
Windows are perhaps the least insulated area of your entire RV, and we recommend insulating as many windows as you can.
RV Slide Out Window Insulation Options:
- Closed curtains and shades
- Reflective bubble wrap
- Clear bubble wrap
- Heat-activated window shrink wrap
Of all these options, using clear bubble wrap or heat-activated window shrink wrap are a great way to insulate your windows while still letting light in.
Heat-activated window shrink wrap will still allow you to actually see out the windows, which is even better! And as a bonus, the heat-activated shrink wrap creates an air barrier between your window and the interior of your RV, which is a great way to insulate.

- Crystal clear film heat shrinks to seal out drafts and cold
- You can still see out your windows!
- This kit covers 5 indoor house windows which should work for multiple RV windows
- Also comes in 10-window kit
- Use a blow dryer or heat gun to shrink to fit!
5. Insulate Slide Out Floor and Walls With Foam Board Insulation
The last option isn’t an aesthetically pleasing option, but it can help to keep your RV slide out warmer in the winter time.
If you can move the furniture on your slide out, you can cover the walls and floor with foam board insulation.
Simply measure the space and cut it to size and lay it on the areas that need extra insulation.
Why It’s Important to Insulate Your RV Slide Outs in the Winter
It’s important to insulate your RV slide outs in the winter for a couple reasons:
- Warmth (obviously!)
- Condensation
Condensation is one of the biggest issues RVers face in cold weather.
When the cold air outside meets the warm air inside, it creates condensation.
And most RVs are heated by propane – and a byproduct of propane combustion is water in the form of water vapor.
If you’re interested in the science of it: Why Burning Propane Makes Water: Sciencing
Propane-fueled heaters create a lot of water vapor, and that water vapor turns into actual water when it condenses on windows and walls.
This is a major problem for RVers: water damage is one of the biggest and most common issues RVers face. And it’s not only from leaks–a lot of times it can come from water vapor.
Condensation creates mold, mildew, and structural damage if it’s left untreated for too long.
But insulating your RV properly can help reduce condensation – and this should start with your slide outs.
Related: How Much Snow Can an RV Roof Hold?
Preventing Mildew and Moisture in Your RV In the Winter
No one wants to deal with mold or mildew in their RV. Here are some ways you can prevent mold and mildew in the winter.
- Properly insulate your entire RV and RV slide outs
- Insulate all your RV windows with heat-activated shrink wrap
- Use a dehumidifier – multiple if you have a large RV
- Use damp-rid in small areas like cabinets and closets
- Avoid hanging wet things to dry in your RV
- Use your vent fans
- If possible, use an electric heat source instead of propane
Related Reading: DampRid vs Dehumidifier: Which is Best For Removing Moisture from an RV?
Conclusion – Insulating RV Slide Outs
Insulating your RV slide outs is a great way to help reduce condensation, drafts, and stay warmer in the winter time.
However, as you now know, insulating your RV slide outs is only the first step towards insulating your entire RV!
Do what you can with what you have to stay warm in the winter, reduce condensation, and prevent mold and mildew build up.
